
Flareless tube fittings are similar to flare fittings in that they offer a solid, high-pressure seal.
However, their applications differ. Flare fittings, which have a tapered end that fits into a flared piece of tubing and is secured with a sleeve and threaded nut, are most commonly used to connect tube or hose in high-pressure and high-temperature applications. Examples include mission-critical and inaccessible locations, such as in military and aerospace applications, in heavy machinery, and in industrial and construction equipment.
Flareless fittings, on the other hand, use a single ferrule and a nut to make a connection, eliminating the need for flaring. They’re commonly used to connect tubing to threaded components, such as valves and tools, in systems with high vibration, in applications that require thicker tubing, and in applications with large tub diameters.
The Main Difference of Flareless Tube Fitting Installation
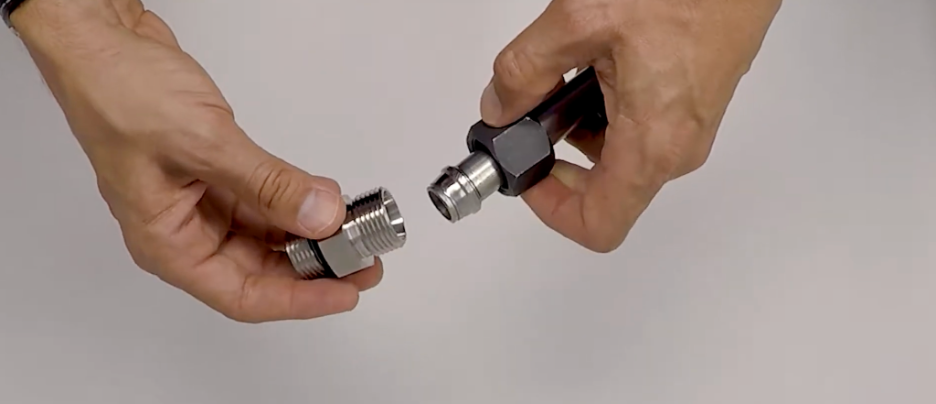
Installation of flareless tube fittings, similarly to that of flared fittings, is completed with three main components: the body, the ferrule, and the nut.
But, as opposed to sealing a flared fitting, the butt end of the tube in a flareless fitting will seal deep within the fitting body. The ferrule bites into the tube in the flareless fitting. As you tighten the nut against the fitting body, it draws the tube in and seats it properly within the fitting.
Flareless fittings, such as the OmegaBite, are designed to work with heavier wall tubing—that means there’s a minimum wall ranging from .028″ to .095″, depending on the tube OD. Conversely, there’s no maximum wall thickness for flareless fittings, which is why it’s often used with pipe. The ferrule is manufactured from 17-4 PH stainless steel, so it has the durability and hardness to bite into the tube for a high-pressure seal.
Recommended tubing for a flareless application includes ASTM A213 or A269 standard with a minimum of a B90 Rockwell hardness.
Step-by-Step: How to Install a Flareless Fitting
Flareless fittings are very serviceable and ideal for high-vibration applications. However, installation takes more time and requires precision. Here’s how to properly install a flareless fitting.
1. Cut the tube square and lightly burr the inside and outside corners.
2. Assemble the fitting by sliding the nut over the tubing, with the open end out. Slide the ferrule onto the tubing with the cutting edge out—the large head end should be inside of the nut. Lubricate the ferrule and the threads on the body and nut with oil or petrolatum. Insert the tube into the fitting.
3. Bottom the tube in the fitting and tighten the nut until the ferrule just grips the tube. With a little experience, the mechanic can determine this point by feel. If the fittings are bench assembled, the gripping action can be determined by rotating the tube by hand as the nut is drawn down. When the tube can no longer be turned by hand, the ferrule has started to grip the tube.
4. After the ferrule grips the tube, tighten the nut one full turn. The degree of rotation may vary slightly with different tubing materials.
5. Disassemble the fittings for inspection. The ferrule will bite or cut into the tube and can be readily seen since it is on the lead edge of the ferrule. The bite into the tube should show a definite groove where the ferrule cuts into the tube and peels the metal over the lead edge of the ferrule. The rounded or lead edge of the ferrules should show a good seat in the fitting, and the head or shoulder end should be collapsed tight against the tube. The ferrules should have no end movement; however, the ferrule may be rotated on the tube due to spring-back of the material. The performance of the fitting is not affected if the ferrule rotates.
6. Reassemble the fittings to complete the installation.
In production, it may be preferable to use a threaded presetting tool to pre-form the ferrule onto the tubing. The presetting tool is a counterpart of the fitting hardened to provide good wearing properties for repeated usage. When using the presetting tool, the assembly instructions are the same, as the presetting tool takes the place of the fitting. Keep the cam surface of the presetting tool free of defects, since they would transfer themselves to the ferrule, which would result in improper seating when the fitting is installed.
In some installations, it may be necessary to use a mandrel to support the inside of the tube when setting the ferrule, which may result in slightly fewer turns needed to set the ferrule. This is only necessary when the tube wall is so thin or so soft that it will not resist the biting action of the ferrule without collapsing.
Still Have Questions About Installing Flareless Fittings?
Contact OmegaOne to speak with a helpful expert today!
